You will be surprised at how easy it is to do a shellac style manicure at home. All is takes is a little patience and a little practice to get salon quality results.

Instructions – How to do Shellac Nails at Home
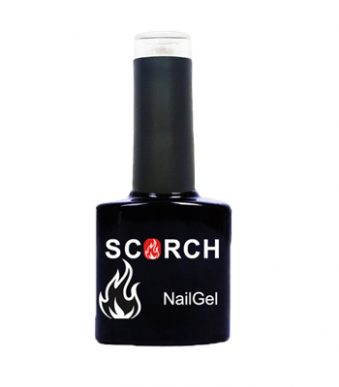
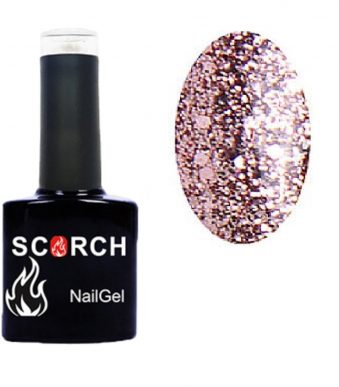
We recommend using Scorch Shellac Style gel nail polish as it is both easy to apply and simple to remove with NO damage to your nails, but the instructions given below apply to most professional quality shellac nail polish brands.
What you need
Scorch Shellac Nails Colour Polish, Base Coat, Top Coat, UV or LED Nail Lamp.
It’s a good idea to have these as well for the professional look – Alcohol wipes to remove residue, a nail file & cuticle pusher. Now you are ready to go…
Instructions
- To start with you prepare the nails by filing each nail into the shape you want. Make sure there are no rough edges. Clean well to remove any residual dust
- Gently push back the cuticles on the nails to expose the nail. Be careful not to push too hard and damage the cuticle
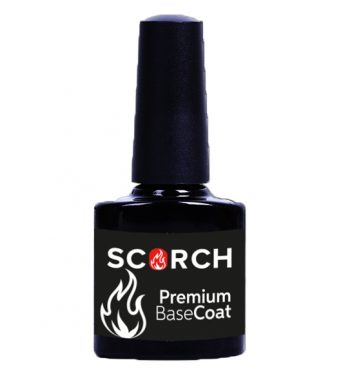
- Apply a thin Layer of Scorch Shellac Base Coat to each nail, starting at the cuticle and painting to the tip in even strokes. Make sure that you coat the tip of the nail all the way to the tip of the nail. Continue until all the nails have an even base coat. Do not go right to the very edge of the nail. Leave a 1-2mm gap between the edge of the base coat and the skin. This is important to create a sealed edge later on.
- Following the instructions for your apparatus, cure each hand for 2 minutes by putting it under the UV or LED Nail Lamp for approximately 30 seconds. ( *always follow the manufacturers instructions). At this point the nails will have a sticky residue. Leave this alone until the final step as it helps the next layer adhering properly.
- Now you are ready for the colour. Apply your first layer of Shellac Nail Polish in broad, even strokes from just inside the basecoat at cuticle end of the nail to just inside the tip of the nail, so that there is 1 mm of basecoat still left uncovered at tip, at the the cuticle end and the sides of the nail. Do not use a thick cover of color, keep it as thin and even as possible while still covering the surface completely. It is important that you do not go beyond the edge of the basecoat. Keep the edge of the color 1-2mm inside the edge of the basecoat layer to allow the color to be sealed in at the final stage.
- After all the nails have been painted put each hand under the UV or LED light for the allotted time.
- Apply the second layer of shellac nail polish in the same way, almost to the tip of the nail but inside the basecoat boundary.
- Put the hands under the UV or LED light again for to cure the gel polish
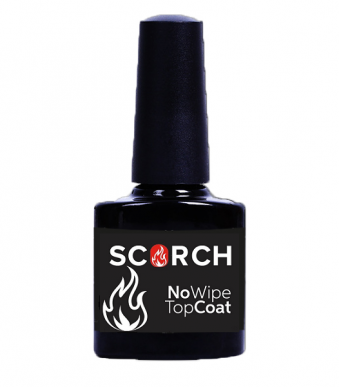
- Finally, apply Scorch Shellac Nails Top Coat over each nail, this time going to the edge of the basecoat, covering the basecoat and colour layers completely, but still keeping off the skin and cuticle. This procedure creates a “sandwich” the seals the color inside the basecoat and topcoat. If any of the layers are in contact with the skin, the seal does not last as well, and the nail polish is more likely to chip.
- For the last time, put your hands under the UV or LED light to cure the nails to let the top coat set properly
- Wipe each nail gently with an alcohol wipe to remove any sticky residue that remains on your fingers. Ta Da!
How to remove Shellac Nail Polish
There are 2 options available:
Option 1: You can easily remove shellac nail polish by wetting some cotton wool in acetone, and placing it over the nail. Wrap the tip of your finger and the acetone soaked cotton wool in tin foil to keep the cotton pad in contact with the nail for up to 10 minutes. ( any longer and the acetone will have evaporated and the polish will start to stick again). Alternatively, you can buy Acetone Remover Wraps and follow the same procedure. The Shellac layers should peel away quite easily. If necessary, use a wooden cuticle stick to clean off any excess. Then you are ready to start again 😉
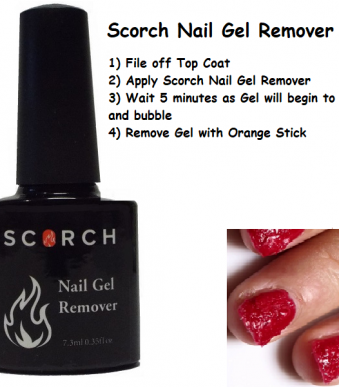
Option 2: Here at Shellac Nails Ltd we are always moving with the latest trends. We like to find new and innovative solutions to bring to our customers. With this in mind we have brought SCORCH REMOVER GEL to the market.
First step is to file off the Top Coat. This is very important as it allows the Nail Gel Remover to penetrate into the Gel and loosen it from the nail plate. Take special care if the gel is thicker in any area and around the cuticles.
Wipe the nail clean to remove any excess dust. Apply the Scorch Nail Gel Remover to each nail. Ensure that the nail is well covered with the Nail Gel Remover jelly. Avoid contact between the skin and the Nail Gel Remover as this might result in a slight burning sensation.
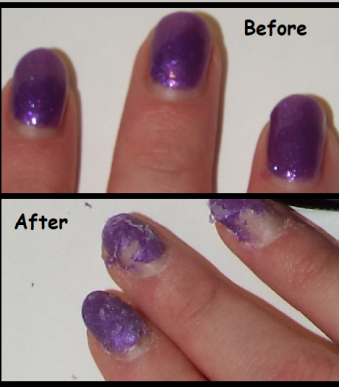
Wait 5 minutes. During this time the gel will show signs of lifting or bubbling. After 5 minutes remove the excess gel with an orange stick. Some gel may be hard to remove and may remain on the nail plate. This may require extra filing and then reapply the Scorch Nail Gel Remover.
What You Need to get Started
Scorch Nail Gel Polish Remover
- Easy to Use – Professional or Home Use
- Quick to remove nail gel polish, not harmful to nails
- Reduce filing and scrapping
- Retail products for home removal
UV/LED Nail Lamp
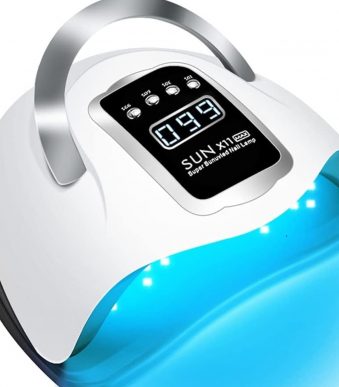
280w UV/LED Nail Lamp, LED Nail Dryer Quick-drying LED UV Nail Dryer with 66 Dual Light Source LEDs, 4 Timer Setting
- 280w UV LED Nail Lamp with evenly built-in 66pcs UV LED lamp, led nail lamps can cure all kinds of led and UV gel polish, just need 30-60s to dry.
- Auto Smart and 4 Timer - Just put your hands in, the gel uv lamp can switch on automatically with the built-in smart infrared sensor. Hands out lights off. 4 timer setting (15s, 30s, 60s, 99s) can control the curing time with each layer better.
- Large Space and Removable Base - Large inner space of nail dryer can cure the whole hand/foot at the same time, including thumb, without dead zone. You could remove the lamp bottom to make it easier to for pedicure and clean.
- Durable and Energy Efficient - The average lifespan of a gel nail lamp could be up to 50000h. The nail lamp is energy efficient, the bulbs will never need replacing. You can enjoy a professional nail salon anytime at home, or provide high-quality manicure service for your customers.
- Nail lamp is a classic style of black and white with a handle easy to take anywhere. Pearl paint surface, high-grade texture. The design of the curved lines increases the internal space and easily cure hands or feet.

