

You can Easily Follow these Simple Instructions and find out How to Apply Shellac Nail Polish at Home
We all love a bit of indulgence at the nail salon, but sometimes it’s nearly impossible to fit in the budget or the schedule. We’re all hard-pressed for time and money these days it seems. But you can do your own shellac nails at home to save money while getting the latest and loveliest nail treatment. Applying shellac is simply and easy with a few professional tips and step by step instructions.
Shellac is not like other nail finishes, that’s true. But if you can polish your nails, you can learn to do DIY shellac like a professional. It is not any harder to use than regular nail polish, but it does require a UV or LED nail lamp. It may take you slightly longer at first, but that is offset by how much longer shellac nails last – two weeks. In some cases, they even last a bit longer. Plus, they dry quickly under the lamp, so even if you take longer to brush it on, the drying time is shorter. So learning to do shellac nails at home is well worth it.
First, assemble everything you will need:
• UV or LED nail lamp
• Base coat
• Colour
• Top coat
• Nail file
• Cuticle pusher
• Alcohol wipes
Once you are settled with everything at hand, you are ready to your DIY shellac nails manicure.
Prepare to be surprised at how simple and easy it is to get professional looking results when you do shellac nails at home. Make sure you are using the correct base and top coat products. All you need to do is follow these four easy steps for applying shellac, and you’ll end up with nails that look like you’ve just come from a top professional salon.
Instructions:
1. Prepare
Your nails have to be ready before you start applying shellac, so you’ll need to file them to smooth any rough edges and get the shape you want, and then gently push back the cuticles. Then clean them to make sure there’s no nail dust from the filing.
2. Apply Basecoat
Apply your base coat first, starting just past the cuticle and slowly brush a thin coat to the tips of each nail. Be careful to start a millimetre or two from the skin and brush to the very tip of the nail. Consult the instructions for your nail lamp (before applying the base coat!), and use it to dry the base coat until it is just a bit sticky, not completely dry.
3. Apply Colour
Staying just inside the edge of the base coat, apply the colour. Make sure to leave a tiny edge of base coat all the way around. Don’t put it on too thick, and use even strokes. Take your time; this step is critical to the end result. That little edge of base coat is important for sealing in the colour. Dry your nails with the nail lamp, and repeat for a second coat of colour. Dry again.
4. Apply Topcoat
Now you are ready for the top coat. Apply from the very edge of the base coat to the tips of the nail. The trick to making it last is to keep it from touching the skin or cuticle. As with the other coats, go slowly, use even strokes, and keep it thin.
5. Final Finish
When you are done, you can do your final drying with the nail lamp. When your nails are completely dry, you can give them a quick once over with the alcohol wipes to make sure there is no sticky residue left.
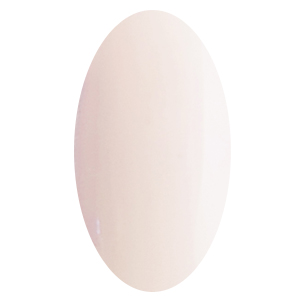
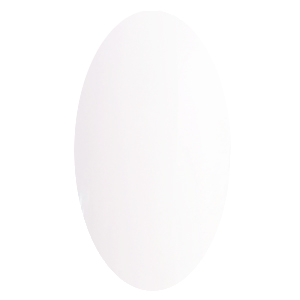
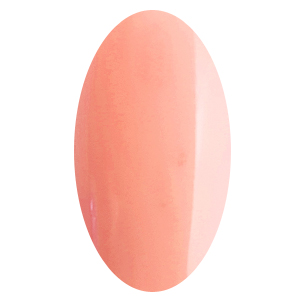
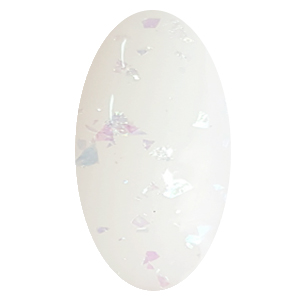
Honestly, the hardest part of doing shellac nails at home is picking the colour. It will last for at least two weeks, so check your diary to see if you want a specific colour for anything coming up. The variety of shellac colours has expanded dramatically since shellac nail polish was developed. You can get glittery polishes, luscious reds, pretty pastels and even neon colours. At ShellacNails.eu we stock the widest range of Shellac colours available online anywhere in the World!
Applying shellac is not that different from applying regular nail polish. The difference is in the quality of the results. Your DIY shellac nails will look great for a couple of weeks, which is good news if you are prone to chipping your nail polish. Once you get the hang of doing shellac nails at home, you’ll realize that what you really pay for at a salon is the pampering. We all love a bit of that from time to time, but there is no reason to spend a fortune getting a professional manicure when applying shellac at home is so simple and easy.